You can now activate the Automated Travel Time workflow. Note that our workflows are only supported for Google, Outlook, iCloud, and Fastmail Calendars at this time.
In doing so, travel time to and from events can be automatically added to your calendar to help you protect that time from other meetings and plan for when you need to leave.
Unlike other travel time blockers, time is calculated based on your preferred method of travel, and if you want, can be padded with additional buffer time.
How to set up Automated Travel Time
Click on the workflow icon 🔀 on the left sidebar of your desktop app or visit the workflow gallery, then click on the +Create button for the Automated Travel Time workflow.

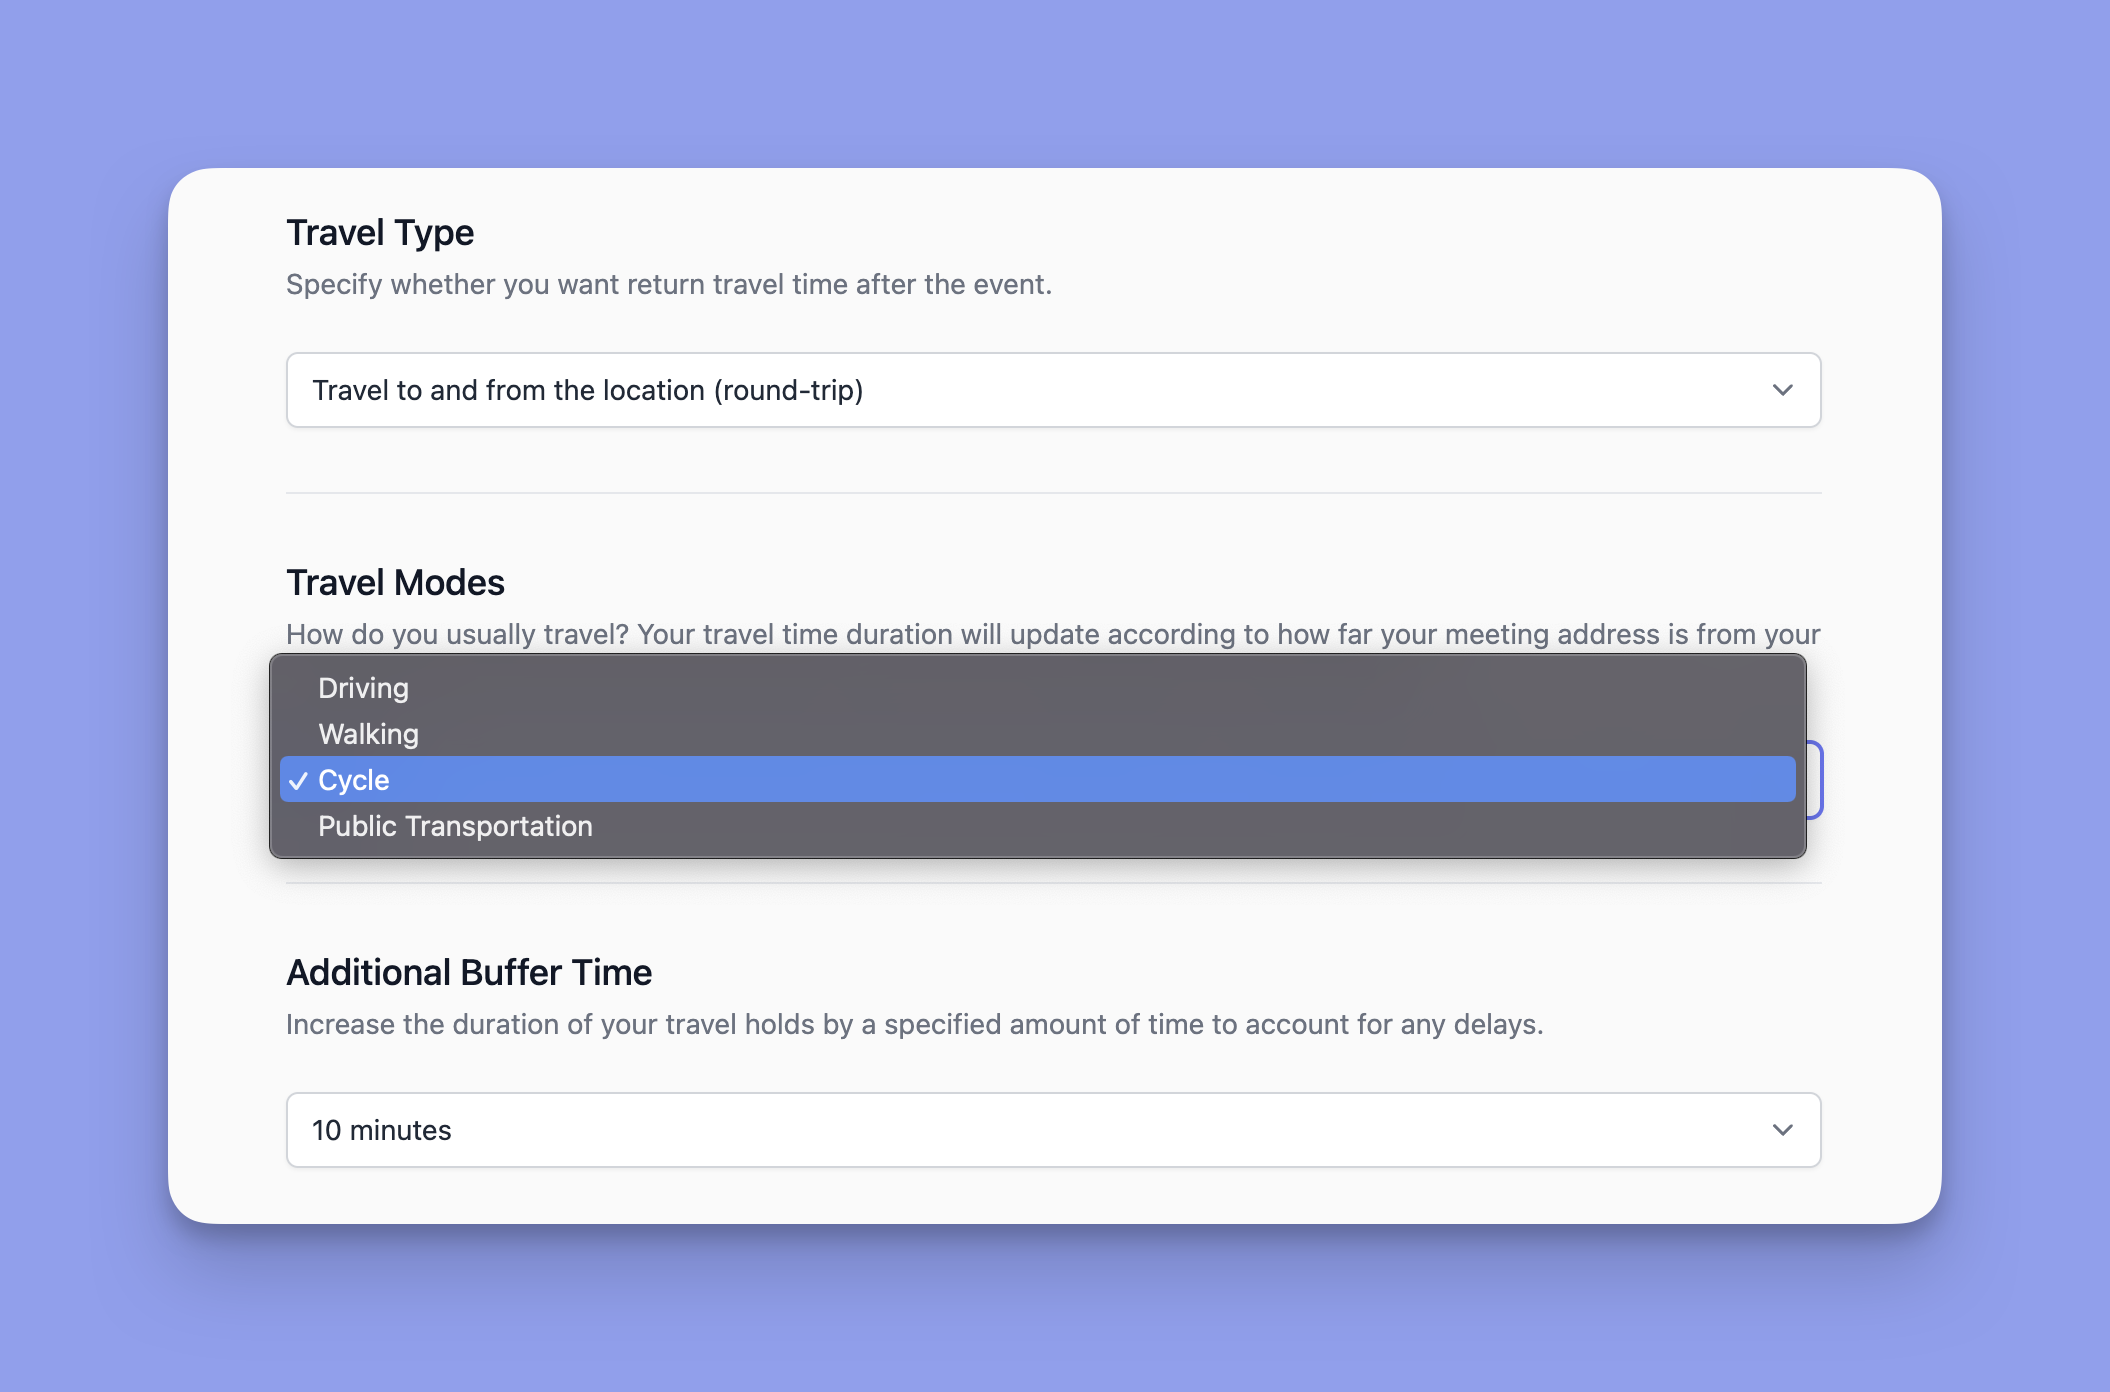
Setting it up will take only a moment. Simply provide:
- A workflow name (otherwise it will be listed as Automated Travel Time in your workflows)
- Your target calendar (where events will be checked for location and where travel time will be scheduled)
- Your departure location (be it most commonly your office, home or somewhere else)
- What type of trip should be scheduled (one way or return)
- You preferred mode of transportation (walking, cycling, public transit, or driving)
- How much additional padding should be added to the travel time up to 30 minutes (if you like an extra ten minutes to find parking, 15 minutes to avoid feeling rushed, etc.)
Then click Save to add and turn on Automated Travel Time to your workflows.
How Automated Travel Time works
Once activated, travel time will be added for events in the next week before and (if you selected round trips) after any event with an address in the details. This time is calculated using Google Maps, taking into consideration your mode of transit and the time of day of the event.
Travel time will not be scheduled if:
- You have a preexisting event already scheduled during the time that would be marked for travel.
- If the travel time is estimated to be over 5 hours.
- If the address in the event is the same as your default address.
If the event is rescheduled, travel time will automatically shift in your calendar along with the event.
Tip: you don’t need to manually run the workflow. There may be a lag between the event creation and the travel time scheduling as your calendar syncs with Morgen Assist, but it will reliably be scheduled.
How to test the workflow
Once you have activated travel time, we recommend you test it so you know what to expect.
To do so:
- Create a test event in your calendar.
- Add a location to the event that is different from your Departure Location. Note, the location should be close enough that you can get there in <5 hours by the mode of transportation you specified.
- Trigger the workflow. The travel time will auto-schedule, but you can manually trigger it to happen right away. Simply click Run next to Automated Travel Time from My Workflows
- Check your calendar. You will now see travel time scheduled before the event, and depending on your settings, after.
- Reschedule the event. Change the time of the event to see that travel time will react and shift alongside the event. There is usually a slight lag here, so you can force the update with Run from My Workflows.
- Delete the test event. When you delete the event, notice the travel time will also be removed from your calendar. There is usually a slight lag here, so you can force the update with Run from My Workflows.
Note that travel time will not be scheduled over a preexisting event, so if your event is scheduled immediately before or after another event, your travel time scheduling will be impacted.
.png)
.png)


