.avif)

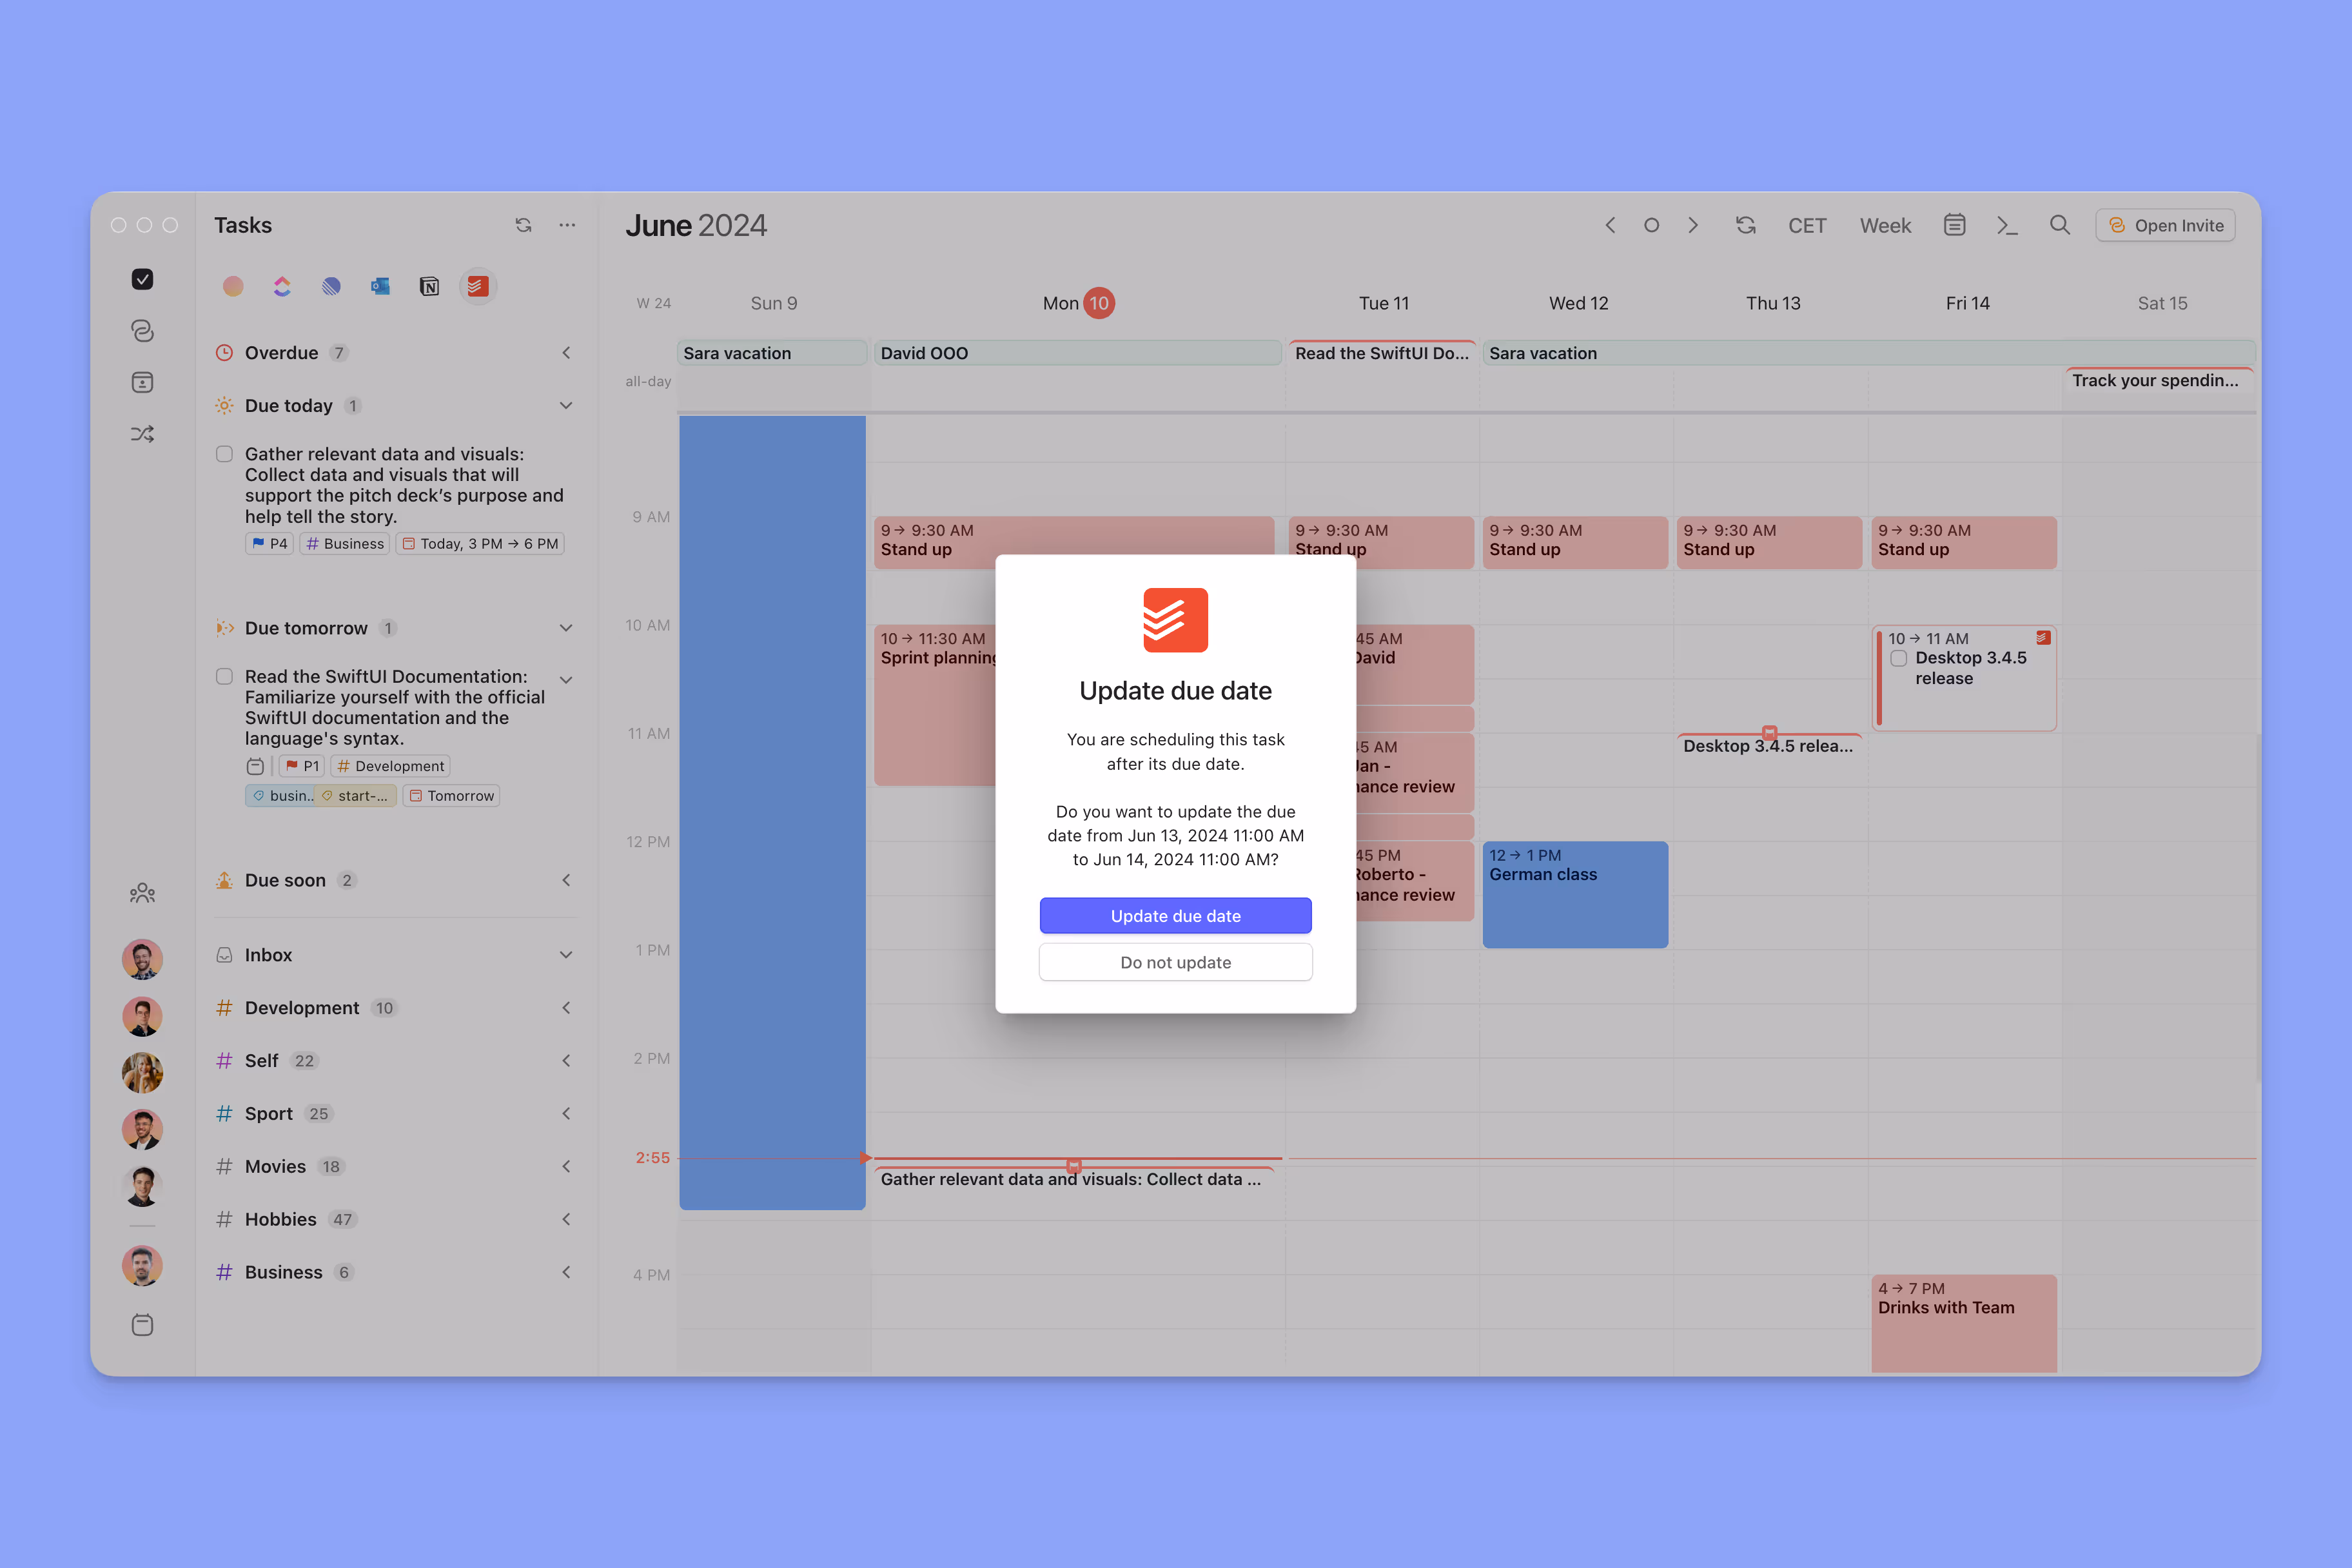
Integrate Obsidian with Morgen to effortlessly plan and time block tasks (inc. Obsidian files) directly in any calendar. As a local integration, you will be able to see your Obsidian vault next to your calendar, for realistic and seamless planning without any risk to your privacy. Obsidian is available only in the Morgen desktop app.
📌 Obsidian time blocks made in the desktop app are visible in the web app.
In this guide, we outline the requirements for the integration, as well as how to:
- integrate Obsidian and decide which tasks to import
- optionally hide task IDs
- effectively time block Obsidian tasks in your calendar
Integration requirements
To integrate your Obsidian vault with Morgen you will need:
- the Obsidian task plugin
- Task emoji format
- tasks with IDs (later in this guide, we will show both how to create IDs and, optionally, hide them)
This is currently the only format we support for identifying and interpreting tasks. As we evolve the integration, additional flexibility will be added. (We understand that Dataview format is particularly popular, so please let us know if you would like to see it prioritized on our roadmap.).
Connect Morgen and Obsidian
In your Morgen app:
- Click on your profile photo or initials in the bottom left corner to open the menu
- Select Preferences
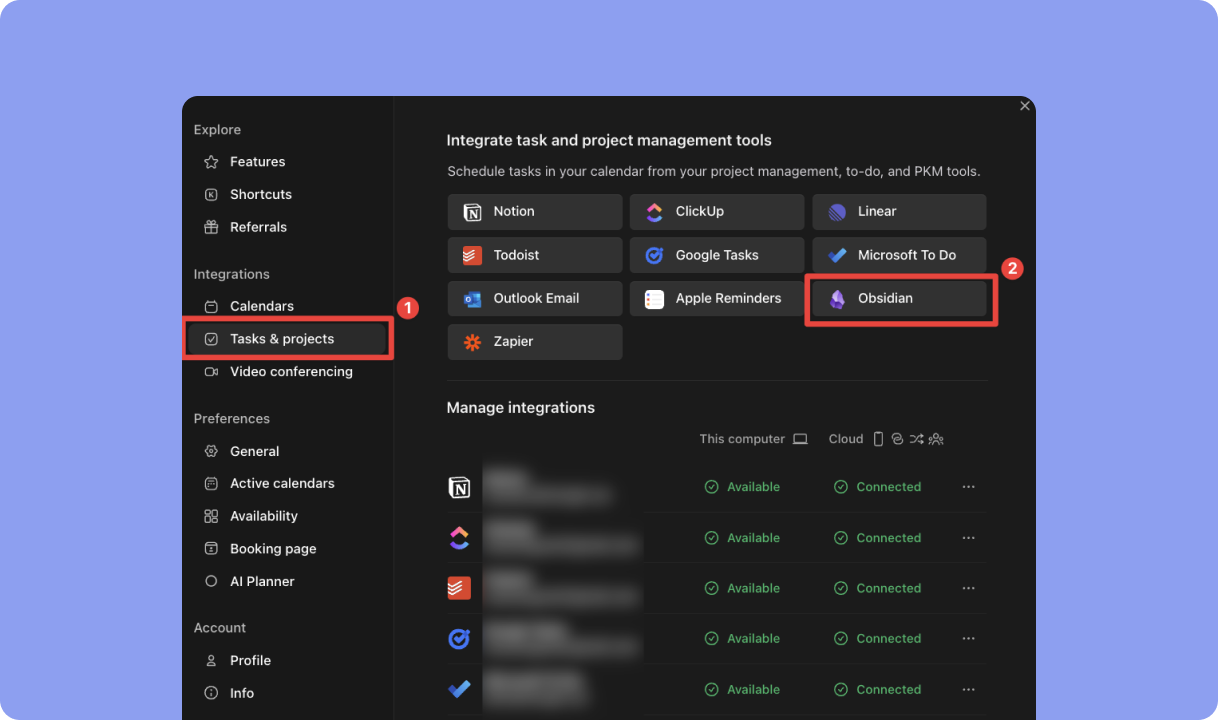
- Under Integrations, select Tasks & projects
- Select "Obsidian" from the available integrations and click "Connect to Obsidian"
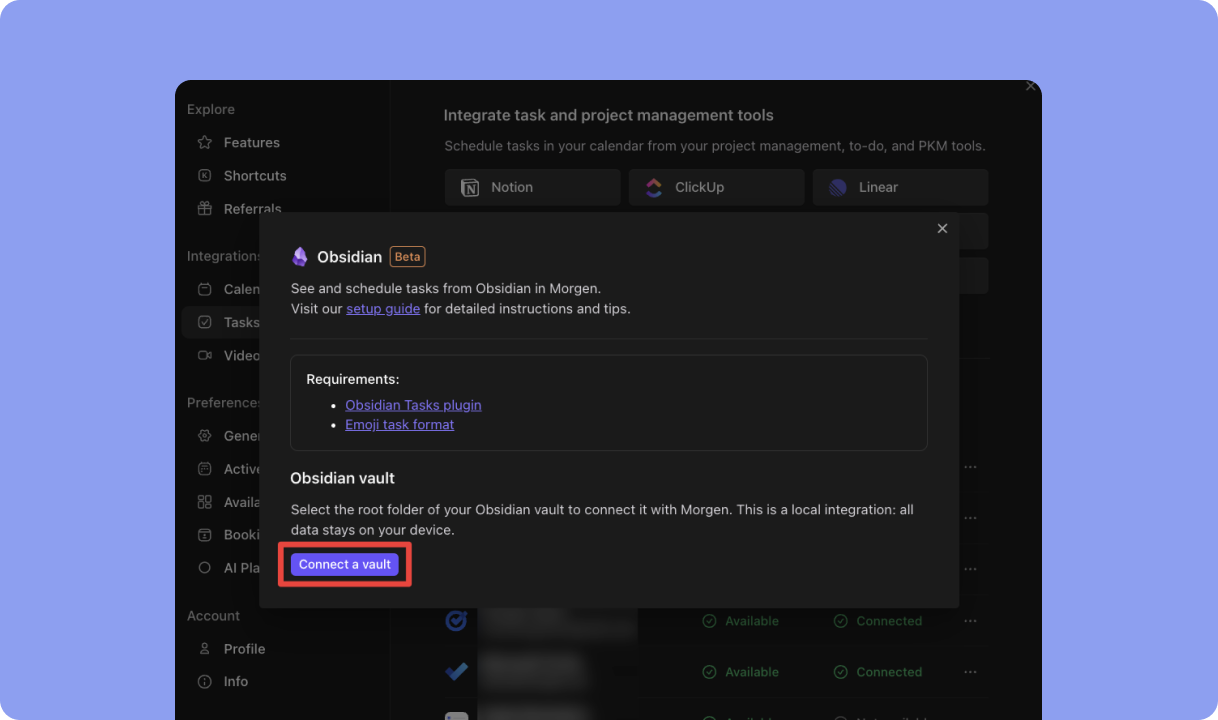
From there a pop-up for the integration settings will open where you can click on the Connect button.
You will then be prompted to configure your integration.
Configure which tasks to import or exclude from Obsidian
There are several ways to selectively import notes and tasks from Obsidian into Morgen. Some of these options can be changed from within Morgen preferences, others are part of your Obsidian preferences.
Note inclusion
1. Note inclusion default: Notes in your vault can be included or excluded by default. To do so, on any note within Obsidian, set a check box property "morgen-tasks-include".
2. Obsidian excluded files: Morgen excludes paths that are globally ignored in Obsidian (in your Obsidian preferences, select Files and links > Excluded files). We display your current settings for file exclusion so you can decide whether to make any changes.
3. Ignored directories: Within your Morgen preferences, select Obsidian > Ignored directories. Then simply select those that you want exclude from the menu of directories. We generally recommend ignoring templates so as to avoid IDs being added to your template files.
4. Exclude old inactive notes: You can opt to import all notes. If however, you have a large number of notes, many of which have tasks that are no longer relevant or high priority, it may make more sense to only import tasks from notes that have been modified within the past 30 days. This will make it easier to isolate and prioritize the tasks that require your attention.
Task inclusion
1. Tasks plugin's Global task filter: The Morgen <> Obsidian integration works with the popular Tasks plugin. In particular, Morgen respects the Global Task filter option of this plugin, importing only those tasks that match the filter.
2. Automatic ID insertion: Morgen requires that tasks have a unique ID property. You can choose to Only import tasks with existing IDs or Add IDs to imported tasks. If you pick the former, you can manually add IDs to those tasks you would like to see in Morgen. (Learn more about adding and hiding IDs in the section below).
Add and hide task IDs in Obsidian
Morgen requires that tasks have a unique ID property.
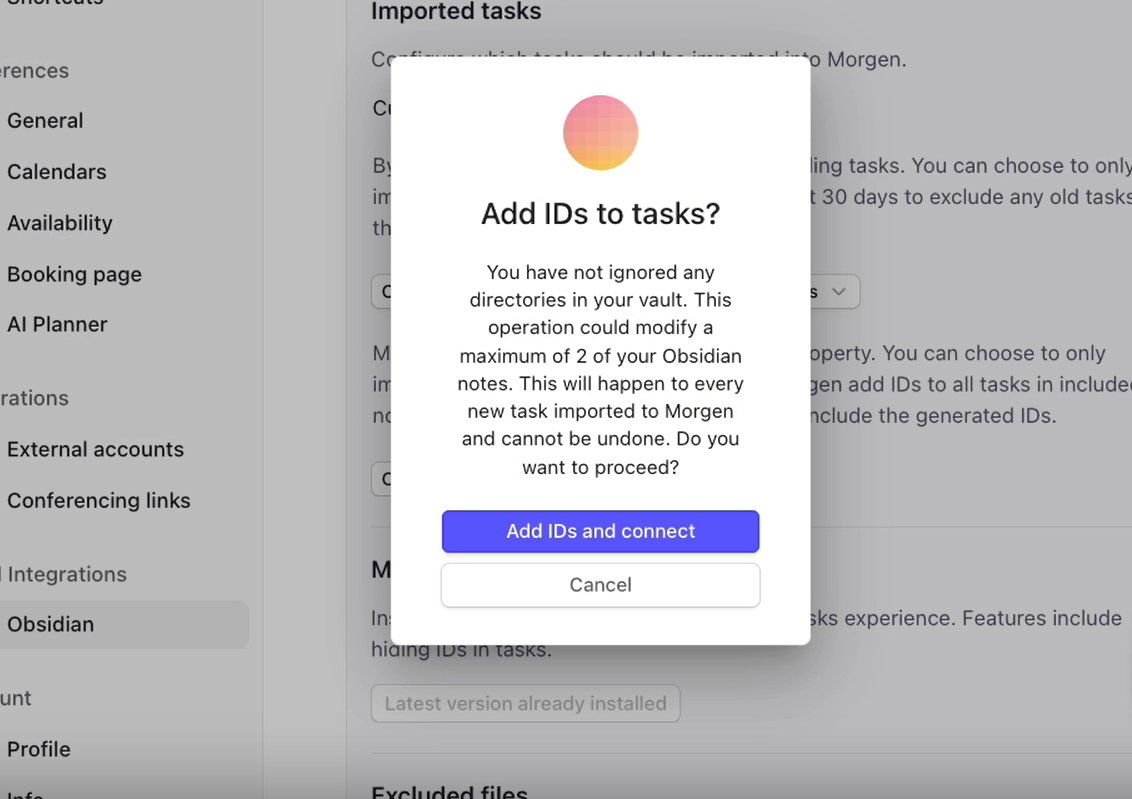
You can choose to Only import tasks with existing IDs or Add IDs to imported tasks. If you pick the former, you will need to manually add IDs to those tasks you would like to see in Morgen. If you select the latter, please be aware that notes in your vault will be updated by Morgen to include the generated IDs. If you opt to have Morgen generate and add IDs to your notes, you will see a popup indicating how many notes will be affected. You will be asked to confirm that Morgen should proceed to create those IDs. (Learn more about adding and hiding IDs in the section below).
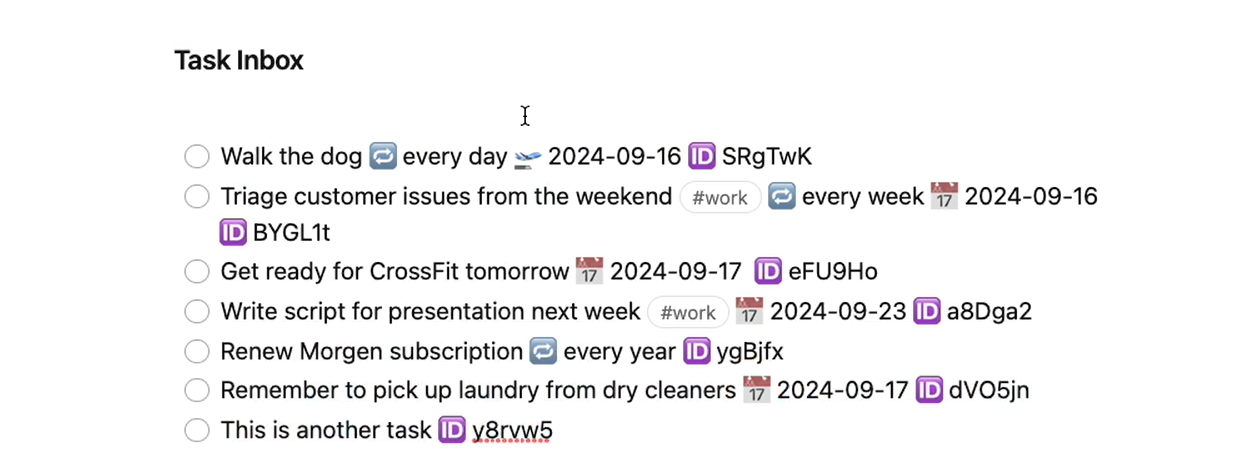
If you opt to only import those tasks with IDs, you will need to manually create IDs for the tasks you wish to see in Morgen. To do so, once you have installed the task plugin, in Obsidian type 'ID' next to any task and hit enter. This will generate a unique ID for that task.
After doing so, if you return to your Obsidian tab in Morgen, and click on refresh, you will now see all tasks for which you created an ID.
Alternatively, if you opted for Morgen to generate IDs, those will be added to all applicable notes.
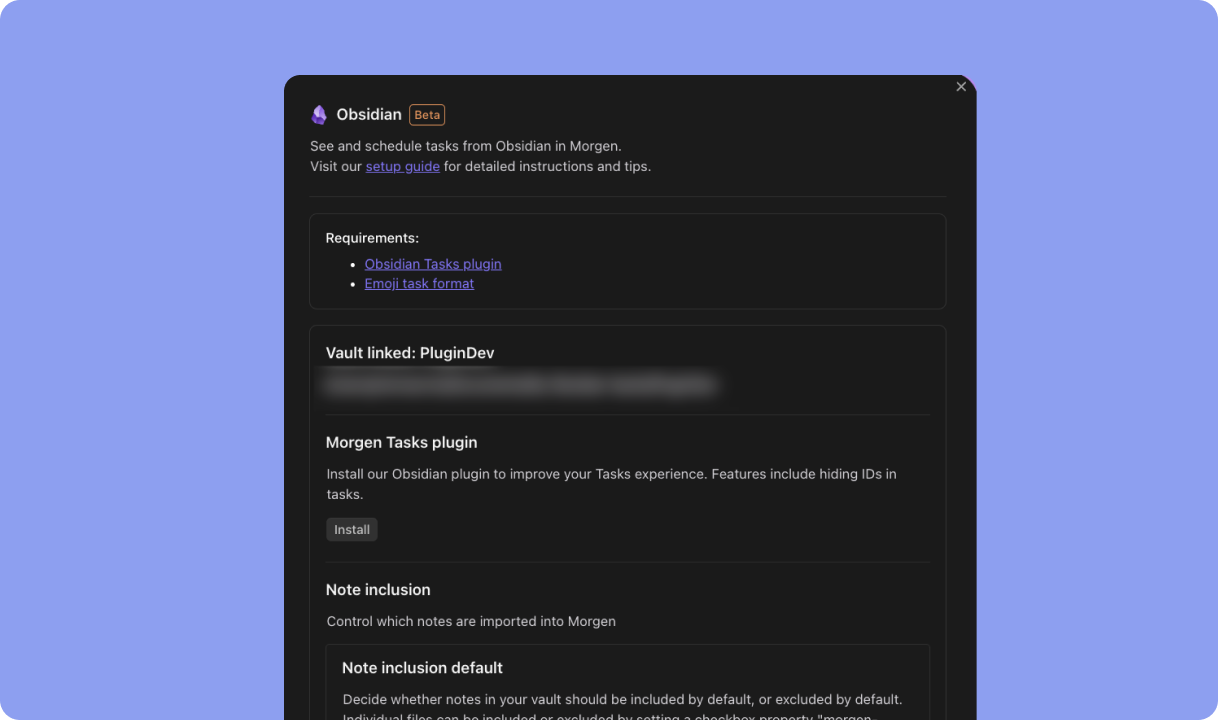
If you find those IDs visually distracting, you can install the Morgen Tasks plugin to hide them.

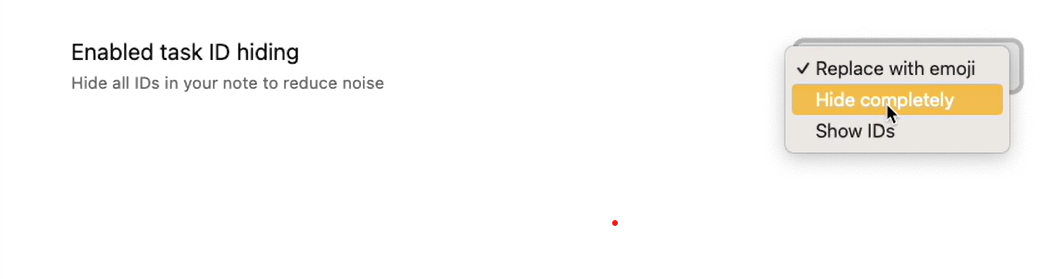
This can be done from the integration configuration page by clicking on the Install button. Then, once you see the confirmation message that installation is complete, you will need to enable it in Obsidian settings. There, Refresh your installed plugins to see the Morgen Tasks plugin in your list. Toggle the plugin on, then click on the settings cog to select whether the IDs should be hidden, replaced with emojis, or remain visible.
When you click back in your notes, the changed settings will take effect.
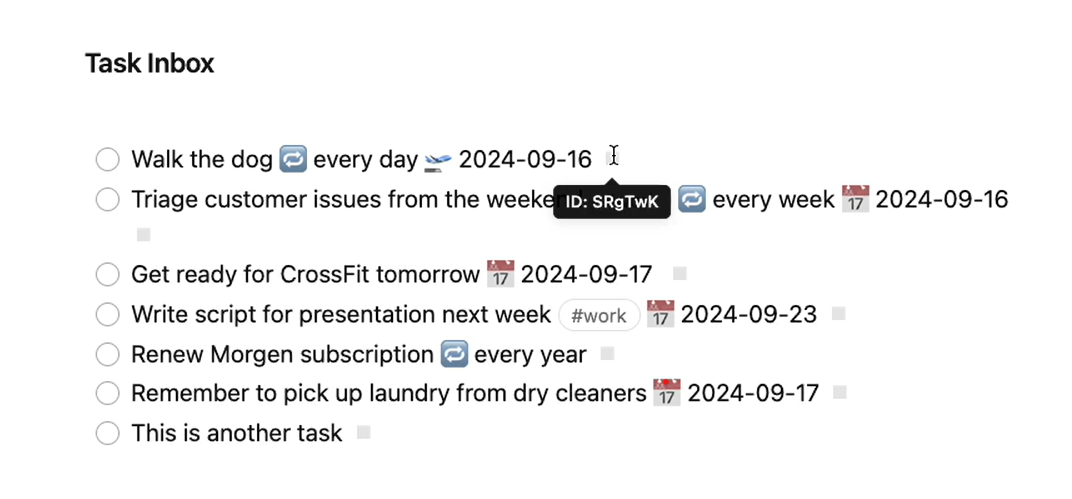
If you opted for emoji mode, you can hover over the ID emoji (a simple grey square) to see the ID displayed, but it is far less noisy and cluttered. Even if you then manually add an ID, it too will have the emoji displayed rather than the full ID.
Set your time blocking preferences
When you time block in Morgen, you will be adding tasks to your calendar, including in your underlying calendar. I recommend that you take a moment to update your time blocking preferences.

To do so, click on your avatar or initials in the lower left corner to open the Preferences menu. From there, set your preferences for:
- Default calendar for tasks: This is the calendar to which tasks will added when scheduled. You can adjust this manually on a task-by-task basis when needed.
- Visibility of scheduled tasks: If your team or others have viewing rights to your calendar, choose whether you want your scheduled tasks to be private. If so, others will see you are busy, but not the details of the task.
- Transparency of scheduled tasks: Decide whether by default you would like your calendar to be marked as busy or free when you schedule a task. This can be adjusted on a task-by-task basis.
Additionally, if your Obsidian tasks have a due date, by default, you will see those due date visualized in Morgen. These will appear in the all day section of your calendar. Note that these are not added to any underlying calendar and simply visual reminders of tasks due soon. If you find these due dates distracting, you can turn off Manage due dates on the calendar from the task preferences menu. (Learn more about how to use due dates in Morgen in this guide.)
Finally, you can decide how you would like to order and group Obsidian tasks in your task list including status, priority, and tag, and can opt whether to also display the due date. (We don't currently support scheduled and started dates.) To do so, at the top of the task panel, click on View. Here you choose how to order and group your tasks, along with the information you would like to display.
Time block Obsidian tasks in your calendar
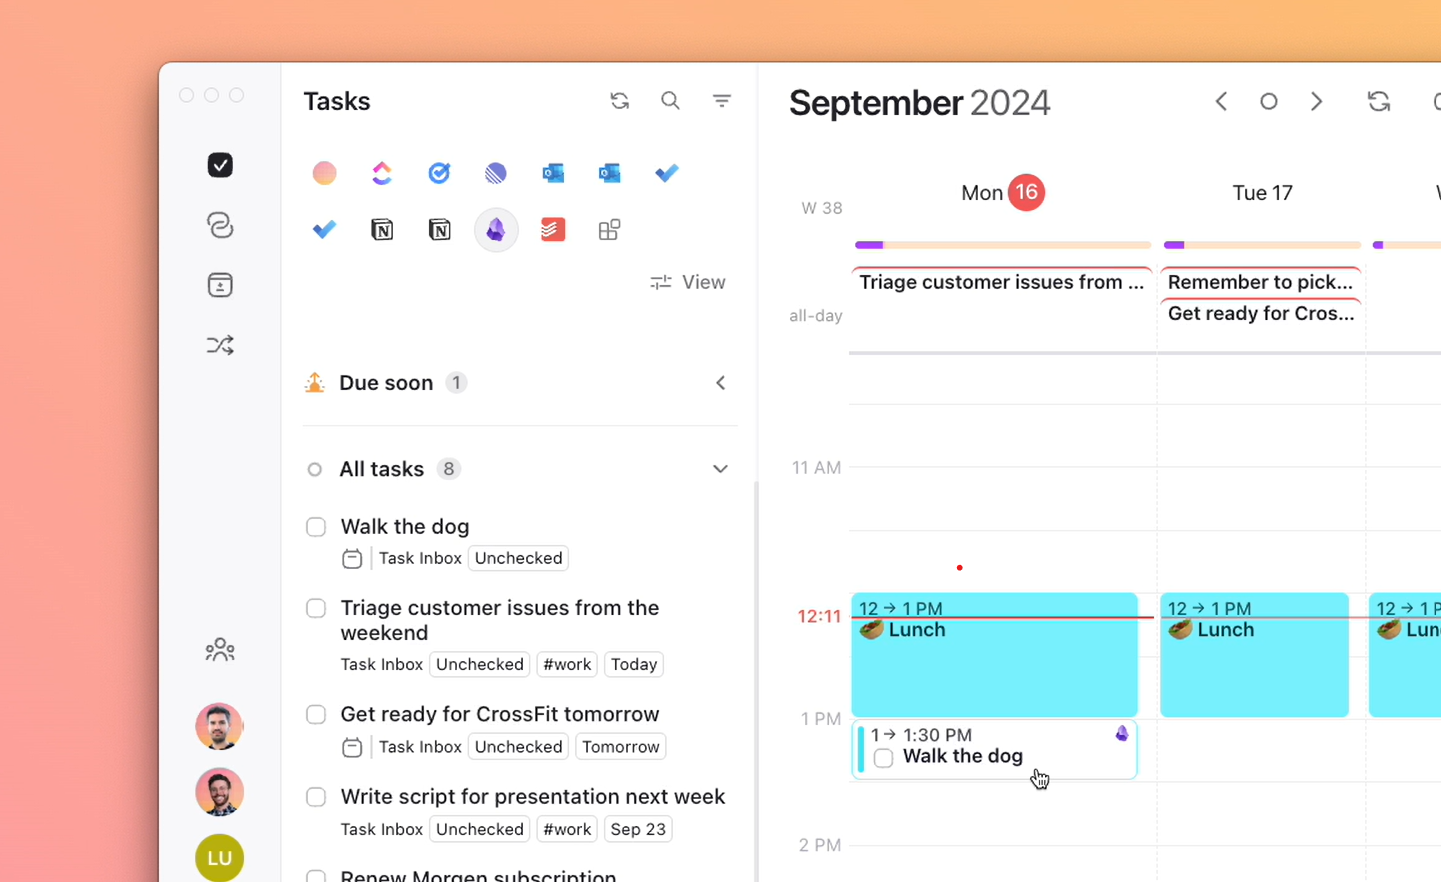
Now, to time block an Obsidian task, simply drag it from the task panel on the left into your calendar. You can adjust the duration of the task by pulling down or pushing up the bottom border of the task on your calendar. You will notice that all Obsidian tasks in your calendar will be easily identified by the Obsidian logo. Clicking on that logo will bring you directly to that note within Obsidian.

When you mark a task as complete in Morgen:
- it will disappear from your Morgen task panel
- the instance of it in your calendar will be visualized with a check mark
- the task in Obsidian will be marked as complete
- and, depending on your preferences, done dates will be added automatically in Obsidian
Additionally, for recurrent tasks, so long as you have enabled Morgen to generate task IDs, a new instance of the task will then be created in Obsidian and appear in Morgen.
Need Help?
🎥 Watch our video for more tips on using Morgen and Obsidian
Or contact us, we’re happy to help 🙏