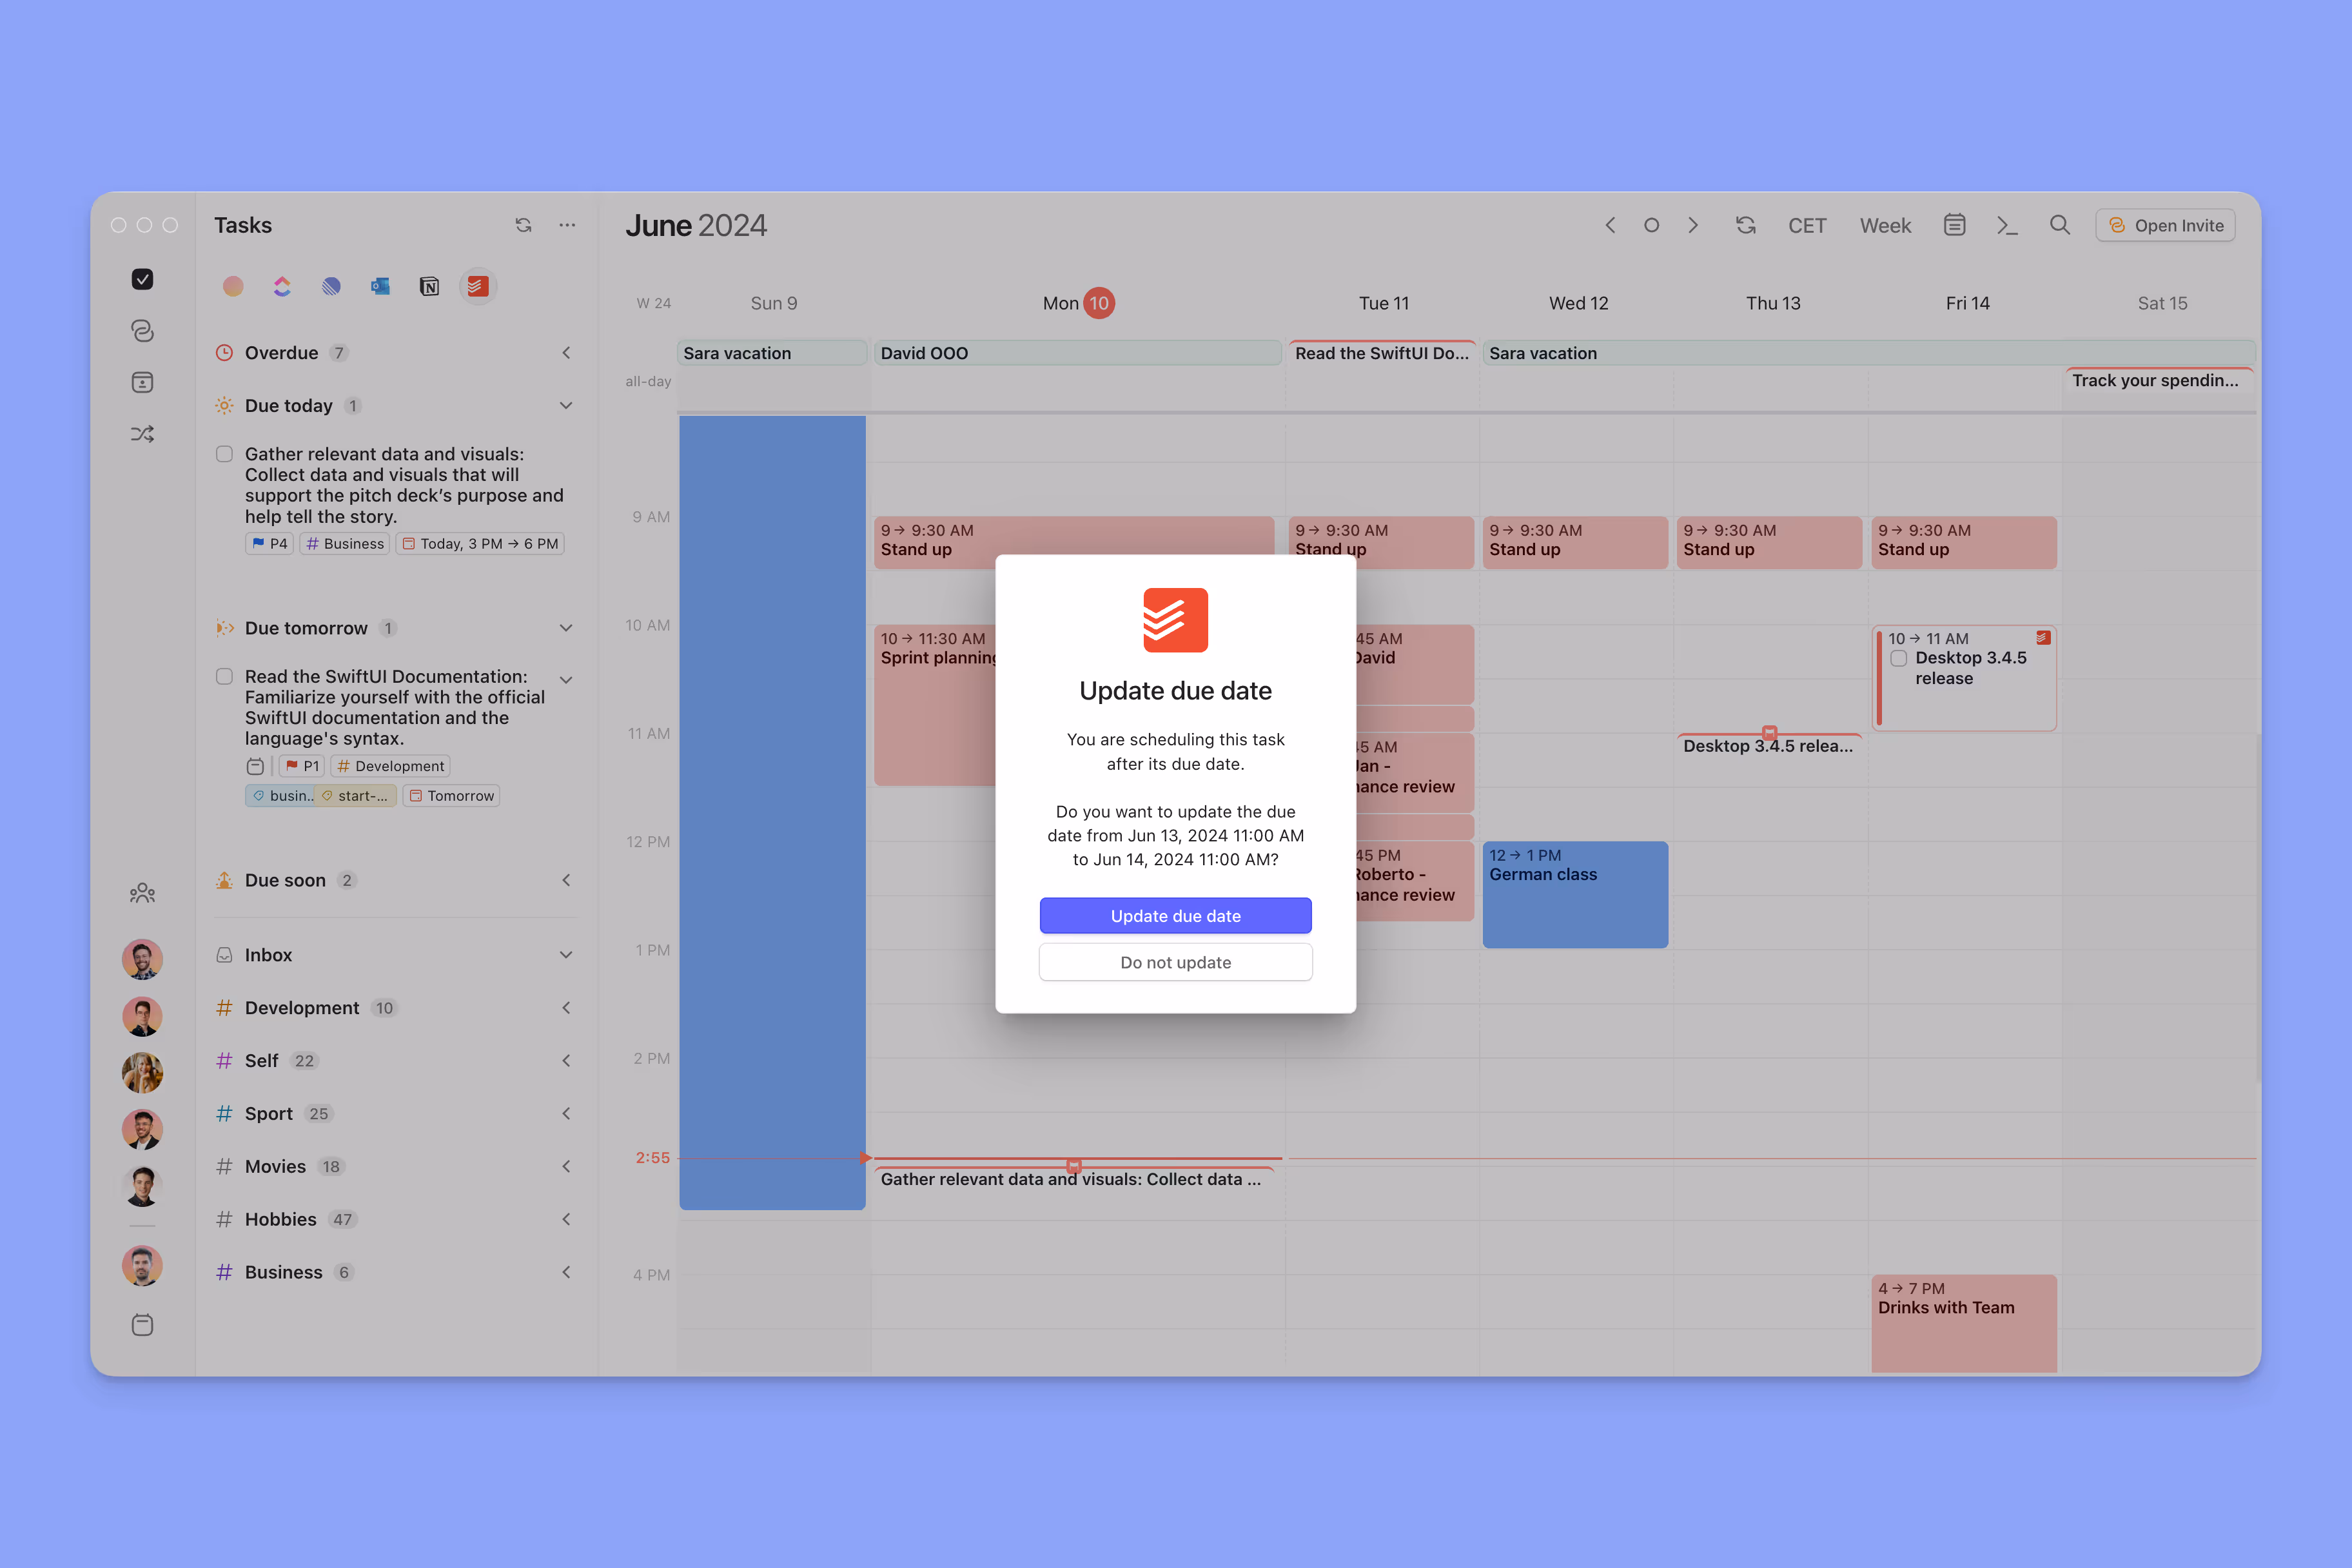
Do you have too many tasks in view or have tasks from multiple sources you want to see in a consolidated list? This is where custom filters come in.
With custom filters, you can define the tasks you want to see in the task list based on your chosen parameters. Filters can be applied to tasks created in Morgen and those imported from an integrated source, even bringing tasks from multiple sources together in one view.
How to create a custom filter
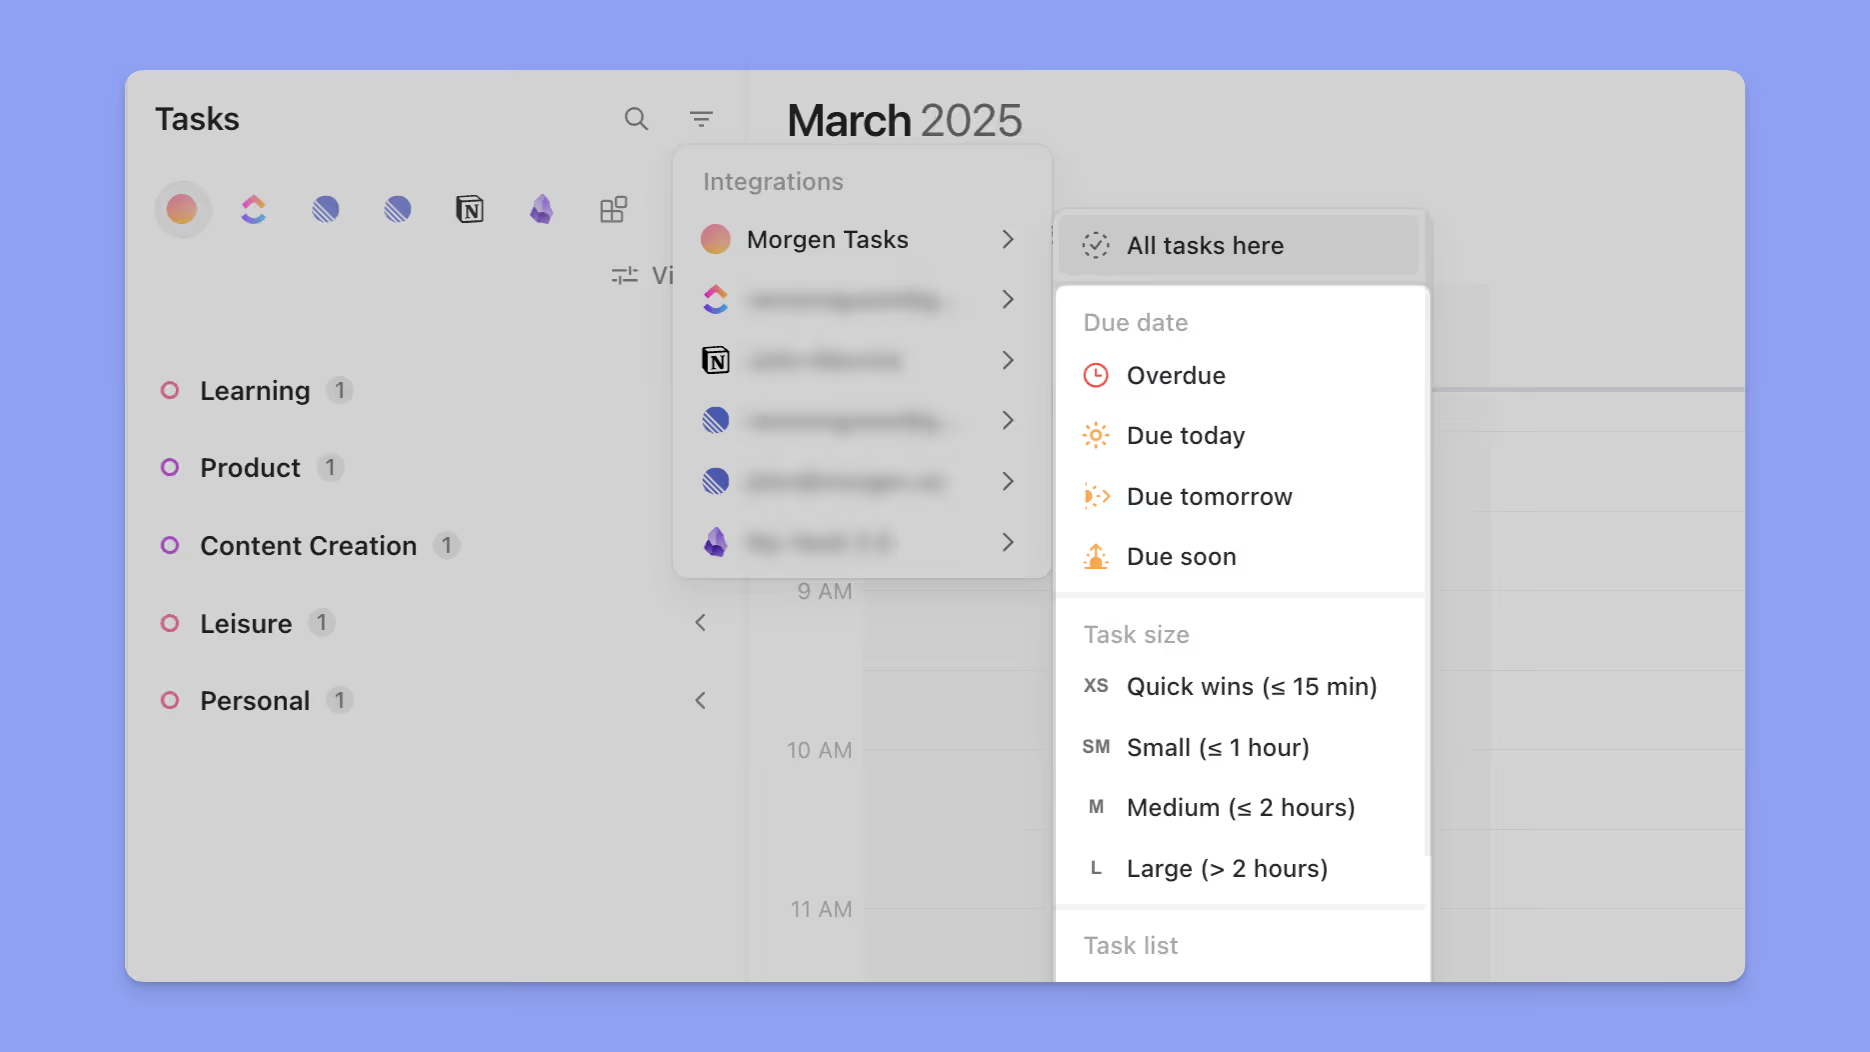
When you open Morgen’s tasks sidebar by clicking the checkbox icon or using the shortcut space bar, you will see a filter icon at the top.

After clicking the filter icon, you will be shown a list of all your task sources.
If you select "All tasks here" from a specific source, you will be shown tasks in your filtered view.
If you want a combined view, you can include all tasks from other sources as well.
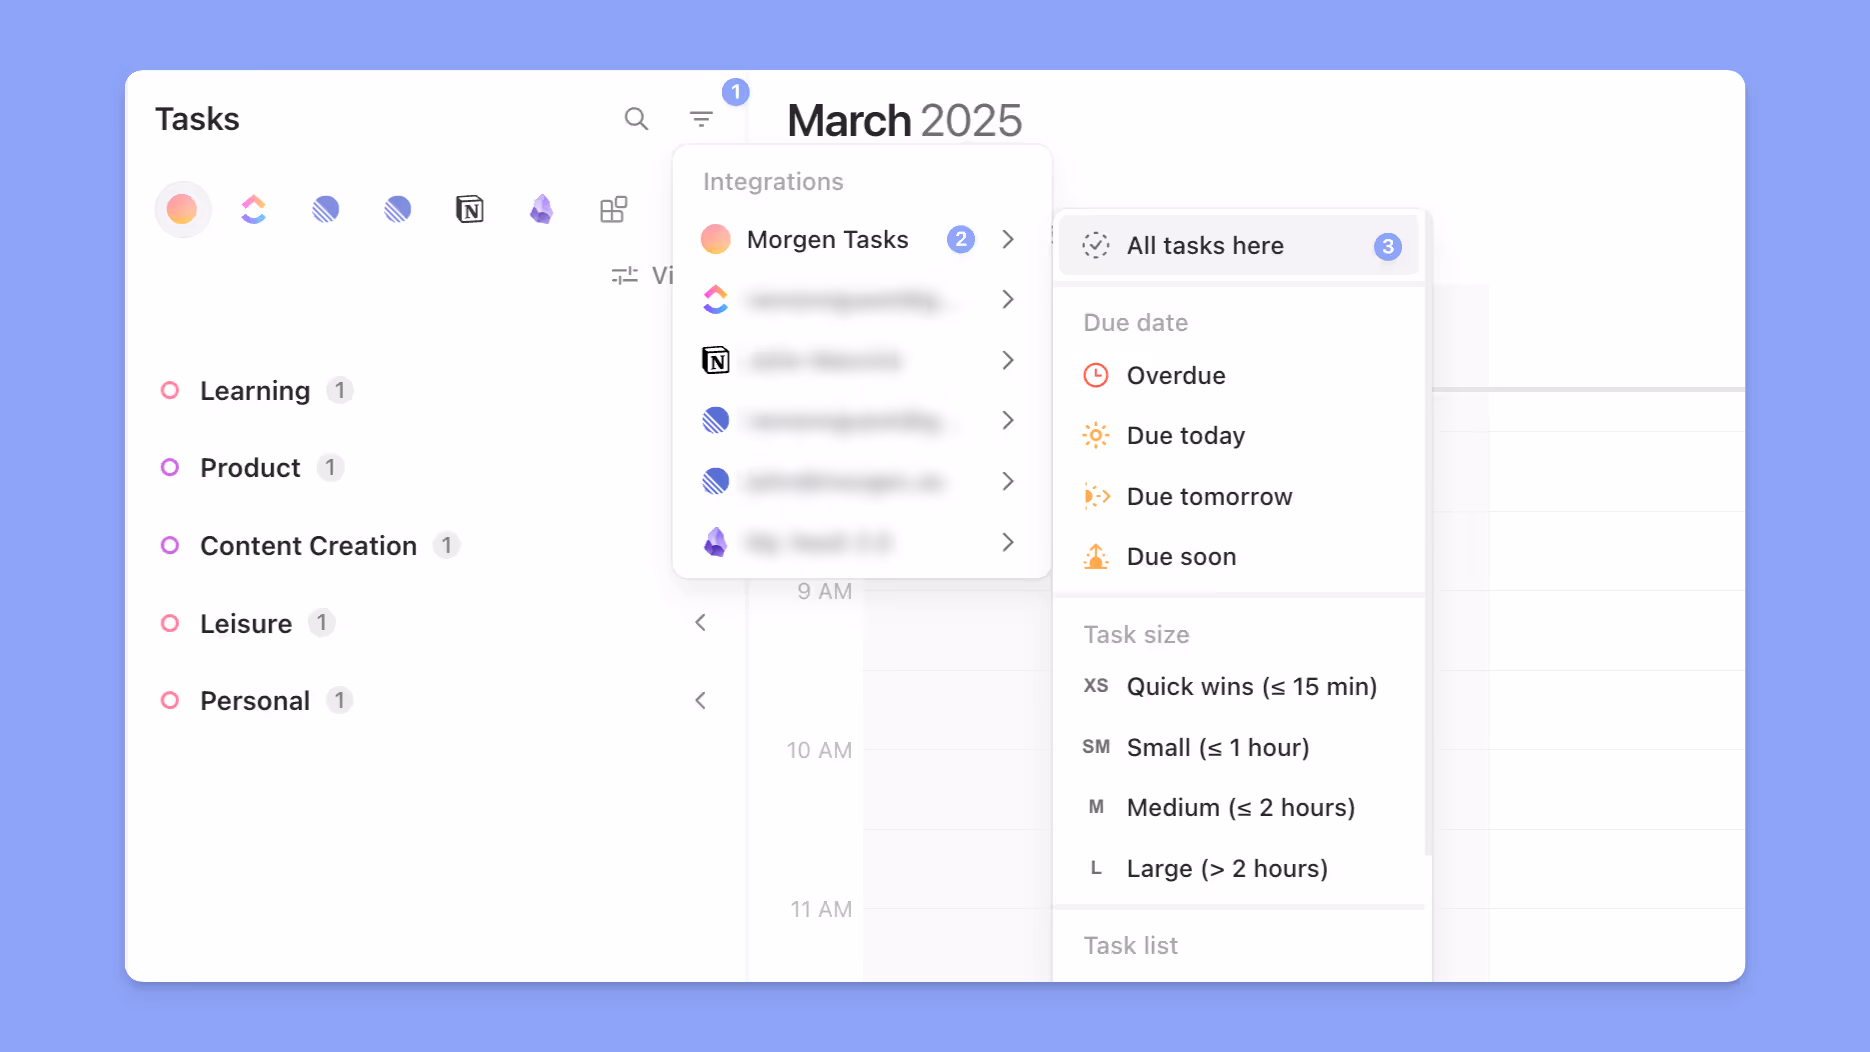
Select the task sources you would like to show.

Each task source will also show specific parameters that can be used to filter your lists. For example, Morgen tasks can be filtered by properties like:
- Due date
- Task size
- Task list
- Importance
External task integrations have different filtering options depending on the properties associated with those imported tasks, which may include:
- Priority
- Status
- Note
- Tag
- List
- Project
- Label
- Category
- Team
- Custom properties
📌 Note: local integrations such as Obsidian or Apple Reminders won't show local properties.
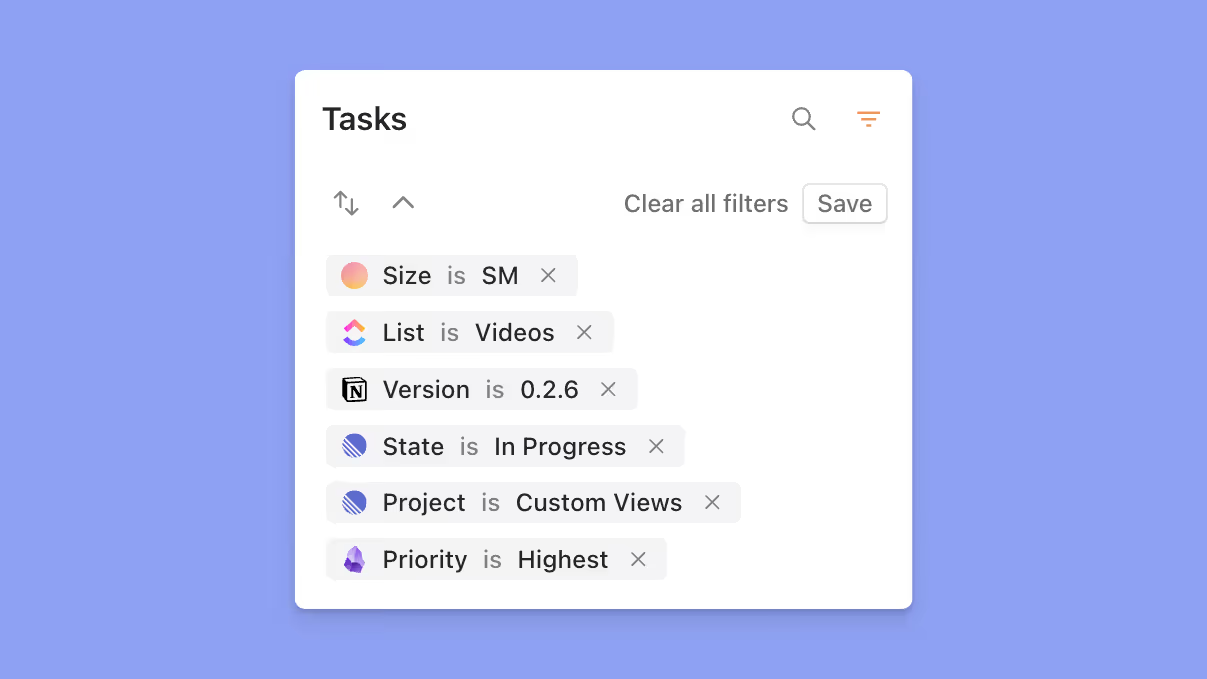
Feel free to combine custom filters from various sources to create your filtered view.

If you want to remove one source/property from the filter, you can simply click on the X icon to the right of the filter.
Creating and applying saved filters
When you have an active filtered view, a “Save” option becomes available.

This button will open a dialog allowing you to save the current filter by adding a name, color, and icon.

Once saved, the saved filter will be displayed on the sidebar and will be available to use.

Saved filters can then be applied to your displayed task list, the search view, or to a Frame.

Updating saved filters
A saved filter can be updated while it is active on the sidebar. Any changes made to the condition or sorting options will show an “Update” button, which, when pressed, will save the current configuration to the active saved filter.
Note that this does not update any Frames where the saved filter was previously applied; you will have to update those manually.

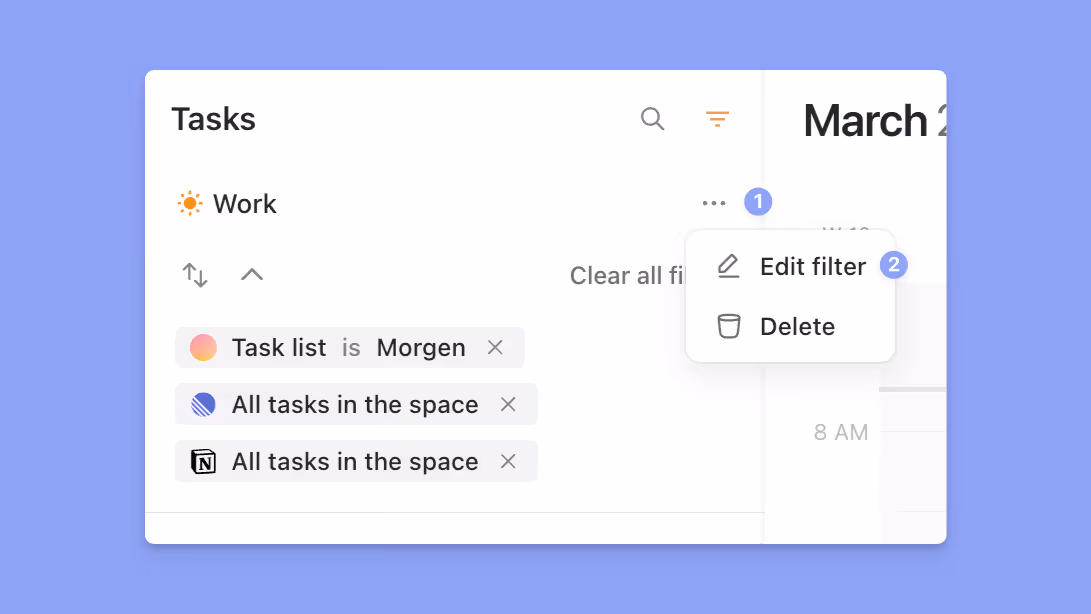
To edit display details like the name or icon, select the ellipsis icon, select “Edit filter,” and make any necessary adjustments.
Sorting filtered views
You can sort any filtered view by:
- Importance or Priority
- Due date
- Source
- our Morgen Priority Factor